A Beginner’s Guide to Incubate Chicken Eggs
Your family will love trying to incubate chicken eggs and watching your flock grow! It helps to keep young hens coming up for egg production. Watching chicks hatch is fun for everyone!
This post contains affiliate links. To view our affiliate policies, click here.
1. Collect Fertilized Chicken Eggs
There are several ways to gather fertilized chicken eggs: keep some from your own chickens, get some friend or neighbor, or buy them. Regular eggs from your super market will not hatch (unless they are fertilized by a rooster). If they are fertilized eggs, they will specifically say “FERTILIZED” on the egg carton. Some retailers like Trader Joe’s have started selling fertilized eggs, but I haven’t seen them at any of my local stores.
Eggs for hatching can be stored in a cool place (less than 60 degrees F) for a week before placing them into your incubator. If keeping eggs longer than 1 week before incubation, the temp must be around 50 degrees F. Do NOT store eggs for hatching in the refrigerator. They can be hatched (after being allowed to slowly rise to room temperature), but with a lower hatch rate.
UPDATE! I just heard from a very experienced farm woman that refrigerated eggs will mainly produce FEMALE CHICKENS (pullets). She also instructed me not to refrigerate the eggs for longer than 7 days. The male eggs are the primarily the ones that can’t tolerate the cold and don’t develop and hatch. The hatch will be smaller but the results will be better if you really don’t want many roosters!
2. Set Up the Incubator for Chicken Eggs

No matter which incubator you have and what type, make sure it is up and running perfectly before setting your eggs up. Some machines have different adjustments for other species’ eggs besides chickens. I like to incubate my chicken eggs at 99.5 F degrees in a Hova Bater Incubator with an automatic turner that I use.
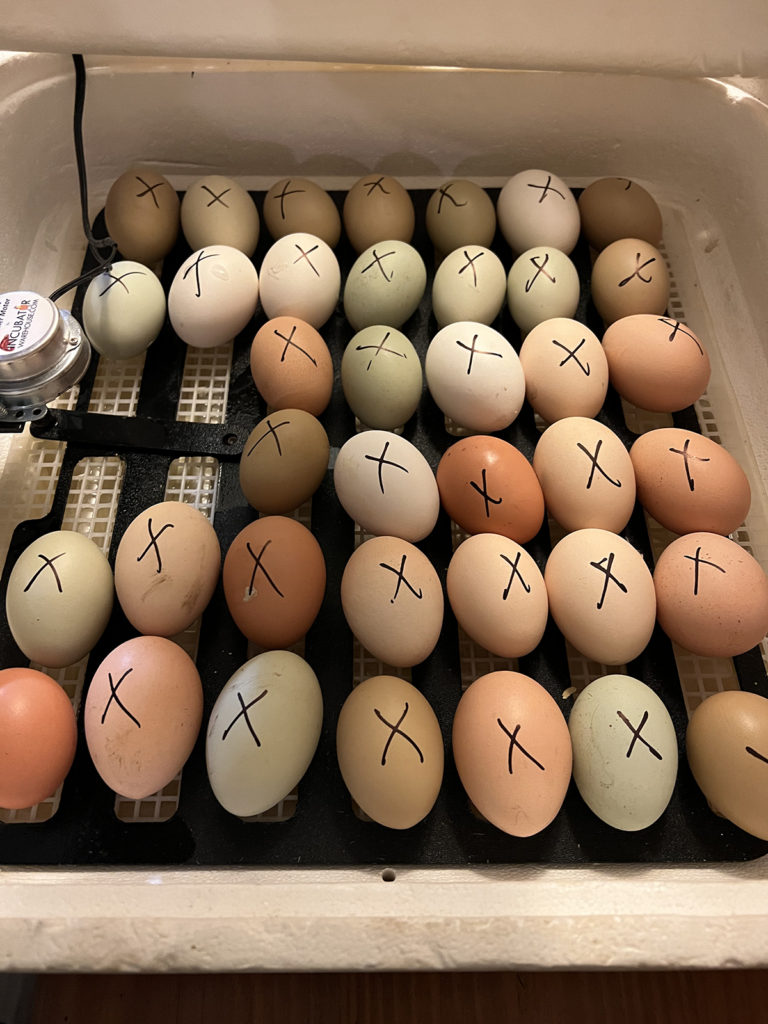
I mark my eggs with a sharpie (some people use pencil) with an X on one side so I can visually confirm that my egg turner is working. I check them several times per day to make sure the temperature, humidity and turner are all doing their jobs.

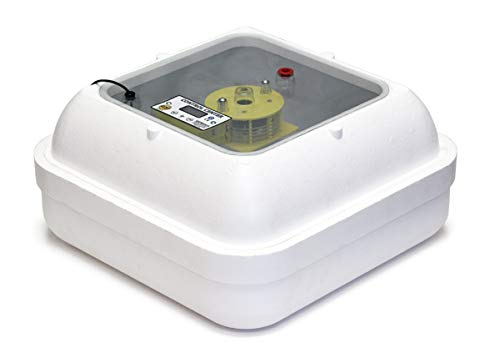
Amazon has a wide variety of egg incubators with different sizes and features. I recommend getting one that holds at least 24 eggs. I HIGHLY recommend the Hova Bater Incubator with an automatic egg turner! It has worked successfully for quite a few years!
3. Mark the Calendar!
Incubating chicken eggs is a simple process of placing fertilized eggs into your incubator for 21 days. The chicks begin the pipping process (starting to break their shells) before day 21. My chicks seem to hatch a day or two early sometimes.
4. Maintain the Temperature and Humidity
Keep your eggs warm and humid. My incubator has a heat and humidity reading on the lid for easy checking. The temperature should be between 99 and 102 F and the eggs should be turned at least 3 times a day. I like to set my incubator at 100.5 F. You’ll have to add water to your incubator regularly.
5. Watch and Wait – Patiently!
The chicks will hatch if your eggs were fertile, rotated and temperature and humidity was all good! When day 17 arrives, turn off the egg turner so it doesn’t injure the baby chicks when they hatch. Boost the humidity to 70% and KEEP the lid of the incubator CLOSED through the hatch unless absolutely necessary! The heat and humidity drop rapidly when the lid is opened and it can make it impossible for baby chicks to break free of their shells. They become “shrink wrapped” by the membrane and are not strong enough to break free. Don’t try to help a chick get out their shell. It does more harm than good.
6. Take Care of Your Newly Hatched Chicks!
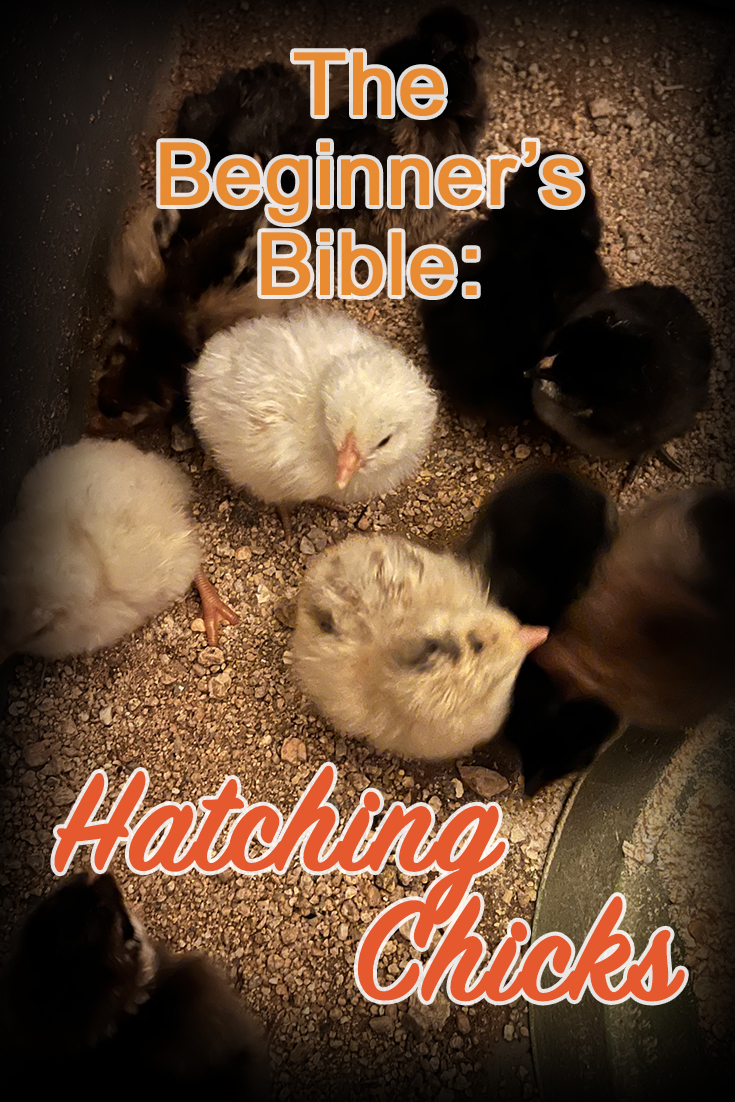
Leave the newly hatched chicks in the incubator for 24 hours or until they are completely dry and wandering around their new home. Move them to a brooder box with a heat lamp, chick starter food, sandy dirt and clean water. Chicks need “grit” in their gut to digest their food. Baby chicks need a warmer around 95 F slowly decreasing temperature a little each week until they are fully feathered out and able to tolerate a variety of temperature changes.
Set up your brooder box (mine is an extra large plastic storage bin from Walmart). I have a heat lamp, automatic feeder and water set up in it for the babies. I keep mine in my bathroom so its easy to maintain a warm temp with no drafts and away from my cat’s interested eyes.
Inspect the new chicks’ feet and legs when you transfer them into the brooder box from the incubator. Occasionally, a baby will have curled toes or splayed legs. That will require intervention from you – but with a handy GOOGLE search you can help. There are many great methods for splinting chicks’ legs and feet on the internet.
Always check the baby chicks morning and evening to make sure they have food, water and no health issues like pasty butt (it’s a real thing and it happens!). You may find yourself asking how you ended up cleaning chicken bottoms daily, but it’s all worth it once they grow up and start laying eggs!

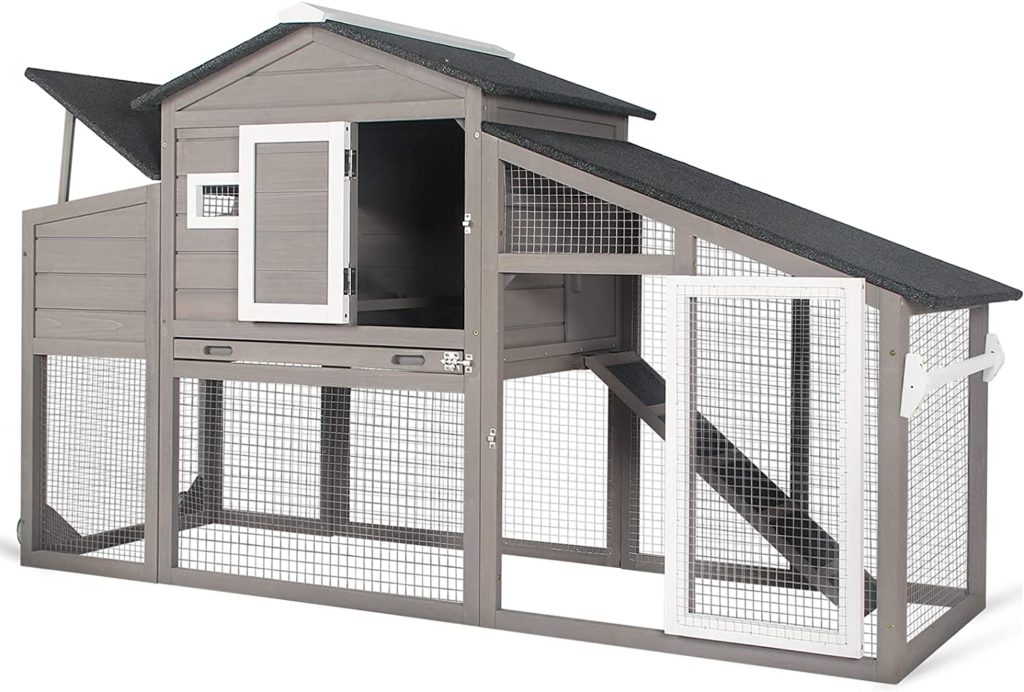
Have your chicken coop set up BEFORE you incubate chicken eggs and your new babies begin escaping the brooder! Here’s a great one on Amazon you can assemble for your chicks’ new home! There are many other varieties and designs to choose from!
Check out our other blog posts here! Don’t forget to subscribe!


3 responses to “Trying to Incubate Chicken Eggs? What You NEED to Know!”
Lovely article, but you could add to the brooder box section that the slick bottom of a plastic tote is not great for baby chicks. I use a big clear tote (easier to see into) and I cover it with a couple of wire grates, hinged in the middle for easy access. Puppy pads or even paper towels make clean up easy and give the little ones some traction.
Thank you and that’s a great suggestion! I actually cover the bottom of my storage tote with fine gravel which also helps them get grit ingested right away as well as traction.
Thank you to Alicia McGuire from Arizona Backyard Chickens Community FB group for the following comments and suggestions:
Fertilized eggs can be purchased at grocery stores if you know what to look for. Trader Joe’s Fertilized Eggs are available most times at their stores and The Happy Egg Co is found at most grocery stores. Both are fertilized and if brought to room temperature first prior to placing into the incubator usually have good hatches.
Temperatures in incubators are typically 99.5⁰ for incubators with fans, 101.5⁰ for still air incubators. Humidity is dependent upon your ambient humidity so there’s wide variables within our state. In my valley home my humidity pump is constantly going but in the mountains, I don’t start adding water until the eggs are transferred to the hatcher or I risk drowning the embryos in the shell.
I dip the beaks of the chicks in warm water when transferring from the hatcher to the brooder so they know how to drink. They’re always thirsty from coming out of that heat.
Happy hatching! People will be starting to collect eggs here soon for incubation so will find your blog helpful!
PS: I use additional humidity gauges that I’ve calibrated rather than rely upon my cabinet’s gauges. They can be knocked out of alignment from shipping. The wet/dry bulb method is reliable and is widely used at zoos and veterinary labs.